dView
dView Tutorial - How to create animated images
Welcome to the first dView tutorial.
dView allows you to create multi-frames images in the following formats:
⦁ animated images: ANI, AVIF, BPG, FLC, HEIC/HEIF, GIF, JPEG XL, MNG, PNG, WEBP and XCUR;
⦁ multi-page images: DCX and TIFF;
⦁ videos: AVI (uncompressed, compressed Motion JPEG and MP4 if a valid codec is found on the system).
In this tutorial I will show you how to create an animated webp image from existing files.
Launch dView and select Create multi-frames images from the Tools menu.
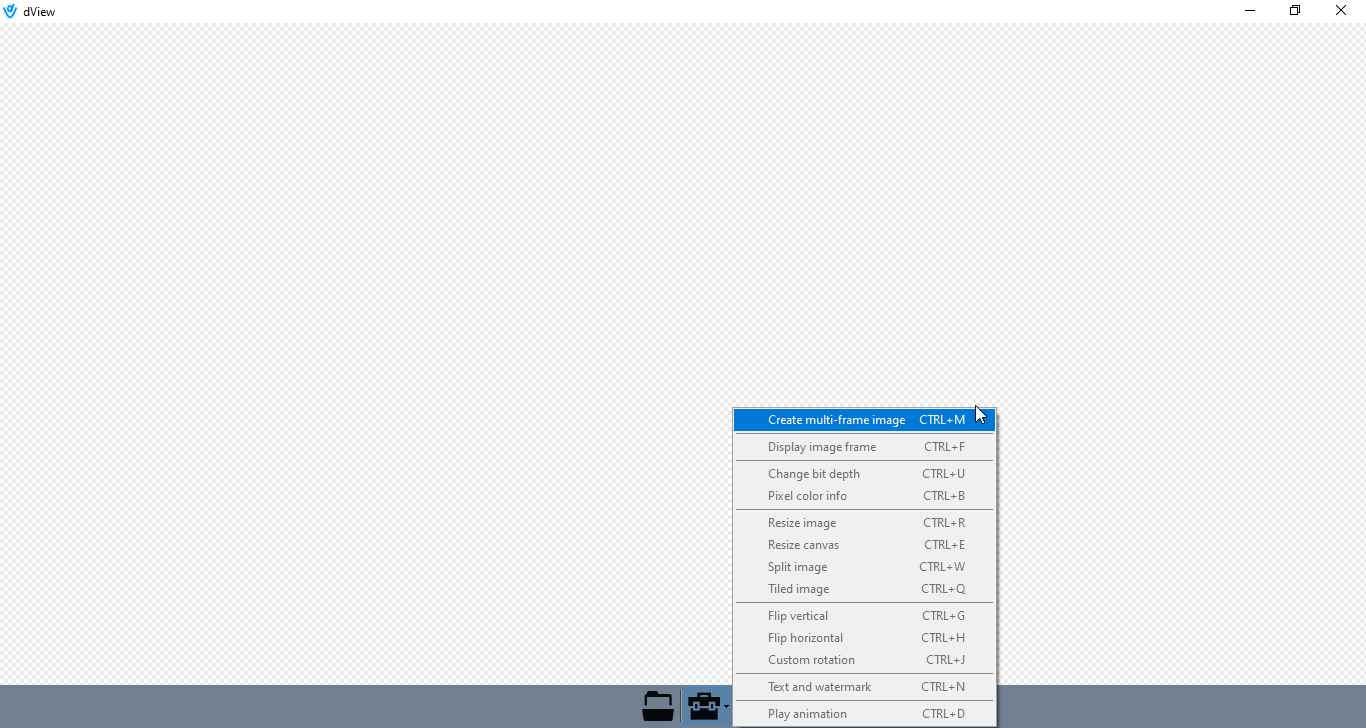
A new dialog will pop up.
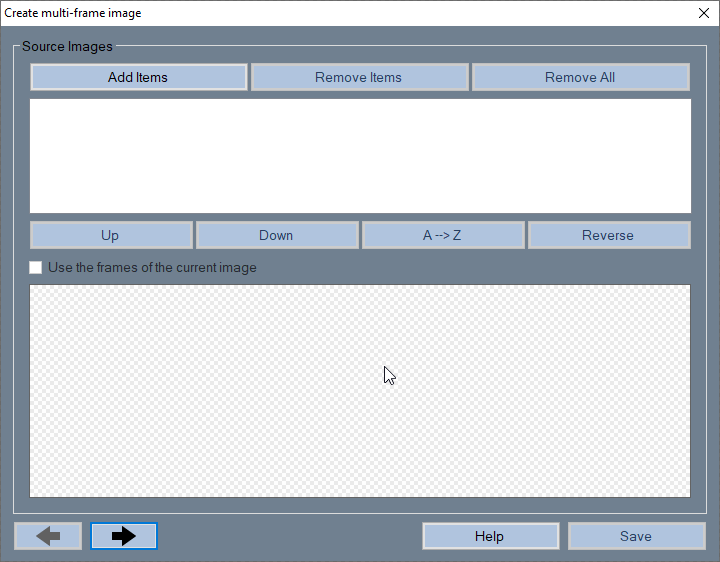
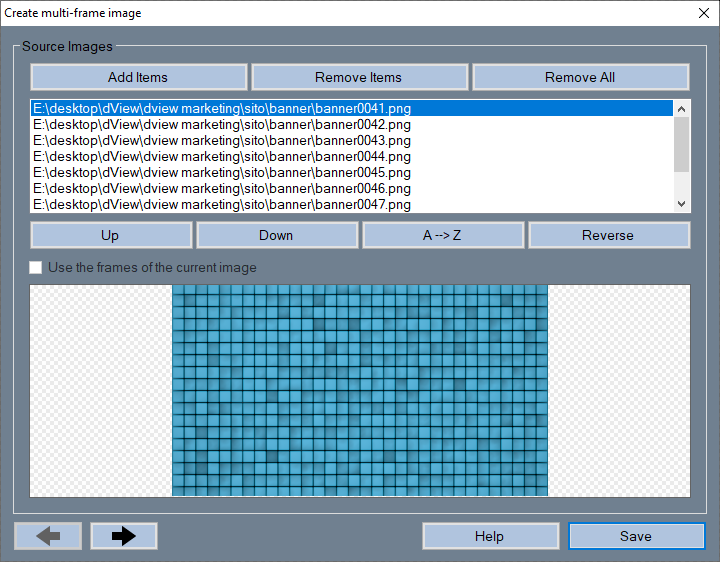
From here, click on the Add items button and select the files to upload. You can select multiple files at the same time.
Now, you can arrange the items in the list as you wish, remove some of them, or even remove all the items, but that's not what we want to do in this tutorial, right?
Ok, let's move on. Click on the button with the right black arrow  and here's what you'll see.

Fill in the box with a file name, choose the folder and the file type and you are ready to go. In this tutorial I will create an animated webp image.
Click on the right black arrow again.
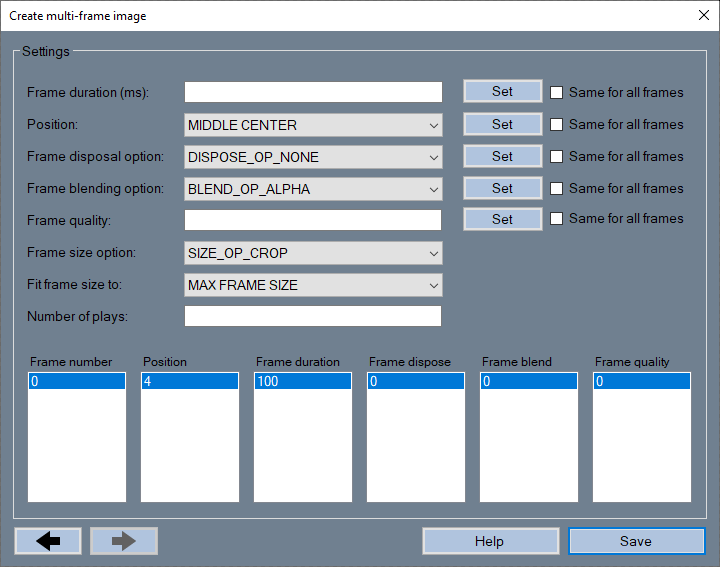
This is the settings tab. If you feel lost, click the Help button to display a quick guide with some information on how to set the parameters correctly.

I know, it's a very simple help but the parameters and options should be self-explanatory.
However, an easy way to understand the meaning of all these parameters is to experiment with them. Create several images with different settings until you find the right combination that suits your needs.
For the purpose of this tutorial I will use the following settings.
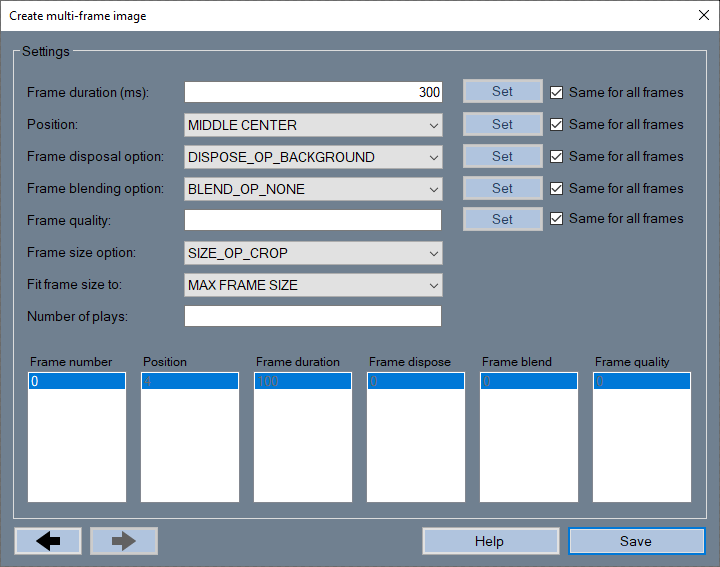
Note that you can undo the changes at any time and you can also go back to the previous tabs but be careful: if you change the file type, you will restore all settings, because each type of image has its settings that are not compatible with the other types.
The final step is to save the image to a file. Click the Save button, wait for the process to complete and then load the saved file into dView (drag and drop the file into the main window). You should see the animation playing. Click the Properties button to get more information about the file and the frame.
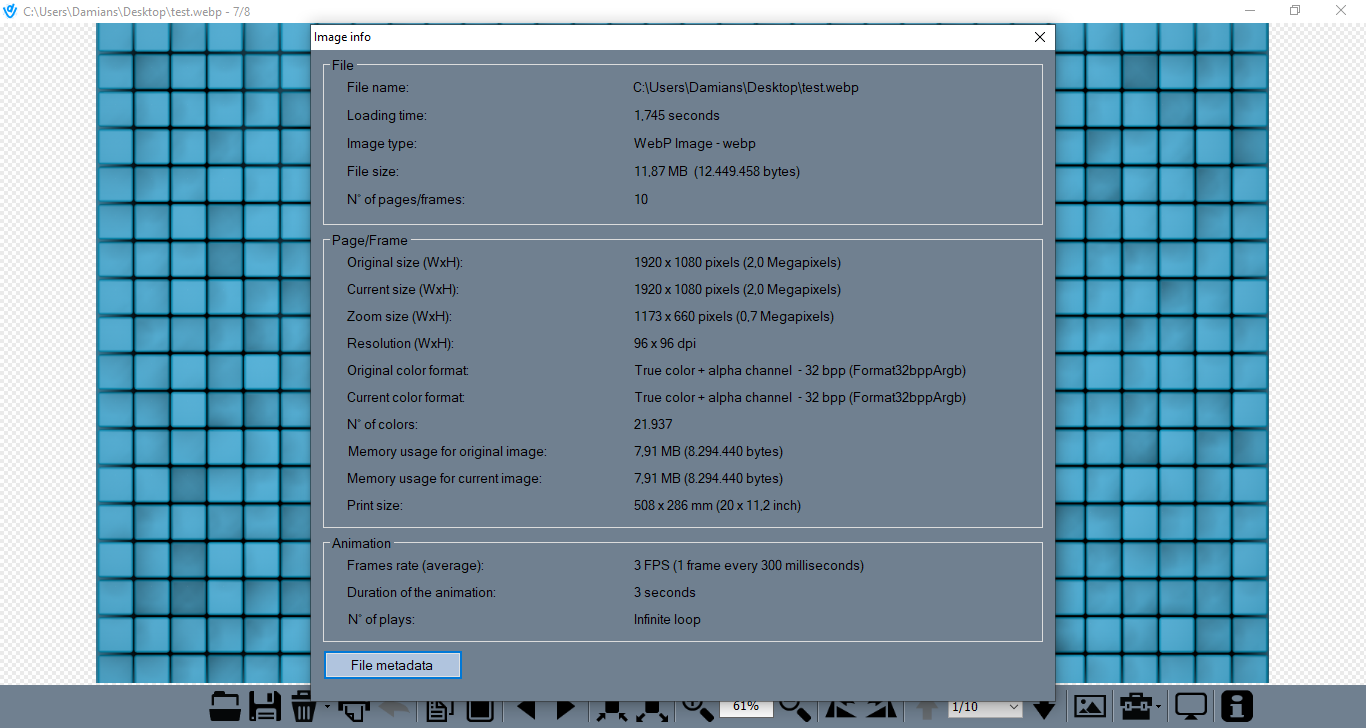
Congratulations!
You just created an animated image with dView. Couldn't be easier, right?
Thanks for reading this tutorial and thanks for using dView.
Please spread the word on dView, follow me on Facebook and Twitter.
The application is freeware but donations are greatly appreciated.
Look forward.
Damian
Leave a comment
Log in with itch.io to leave a comment.